Monday, October 9, 2023

October Free Shipping and more!!


Free shipping is available on all Stampin' Up orders on Oct. 9-11th! That gives you an extra 11% off your order!

This is a great chance to restock your basic supplies like adhesives, cardstock, and envelopes ahead of the busy festive crafting season, and an excuse to get a couple more things off your wish list!

Be sure to check out the newly added exclusives when you shop my Stampin’Up! Store! 

Store Link:

https://www.stampinup.com/?fbclid=IwAR0tvjEM5yYGgOHb84n_Epy_uOoFxB6yLwNWTiqOQp7NKgK4CDZgRhN0SKA


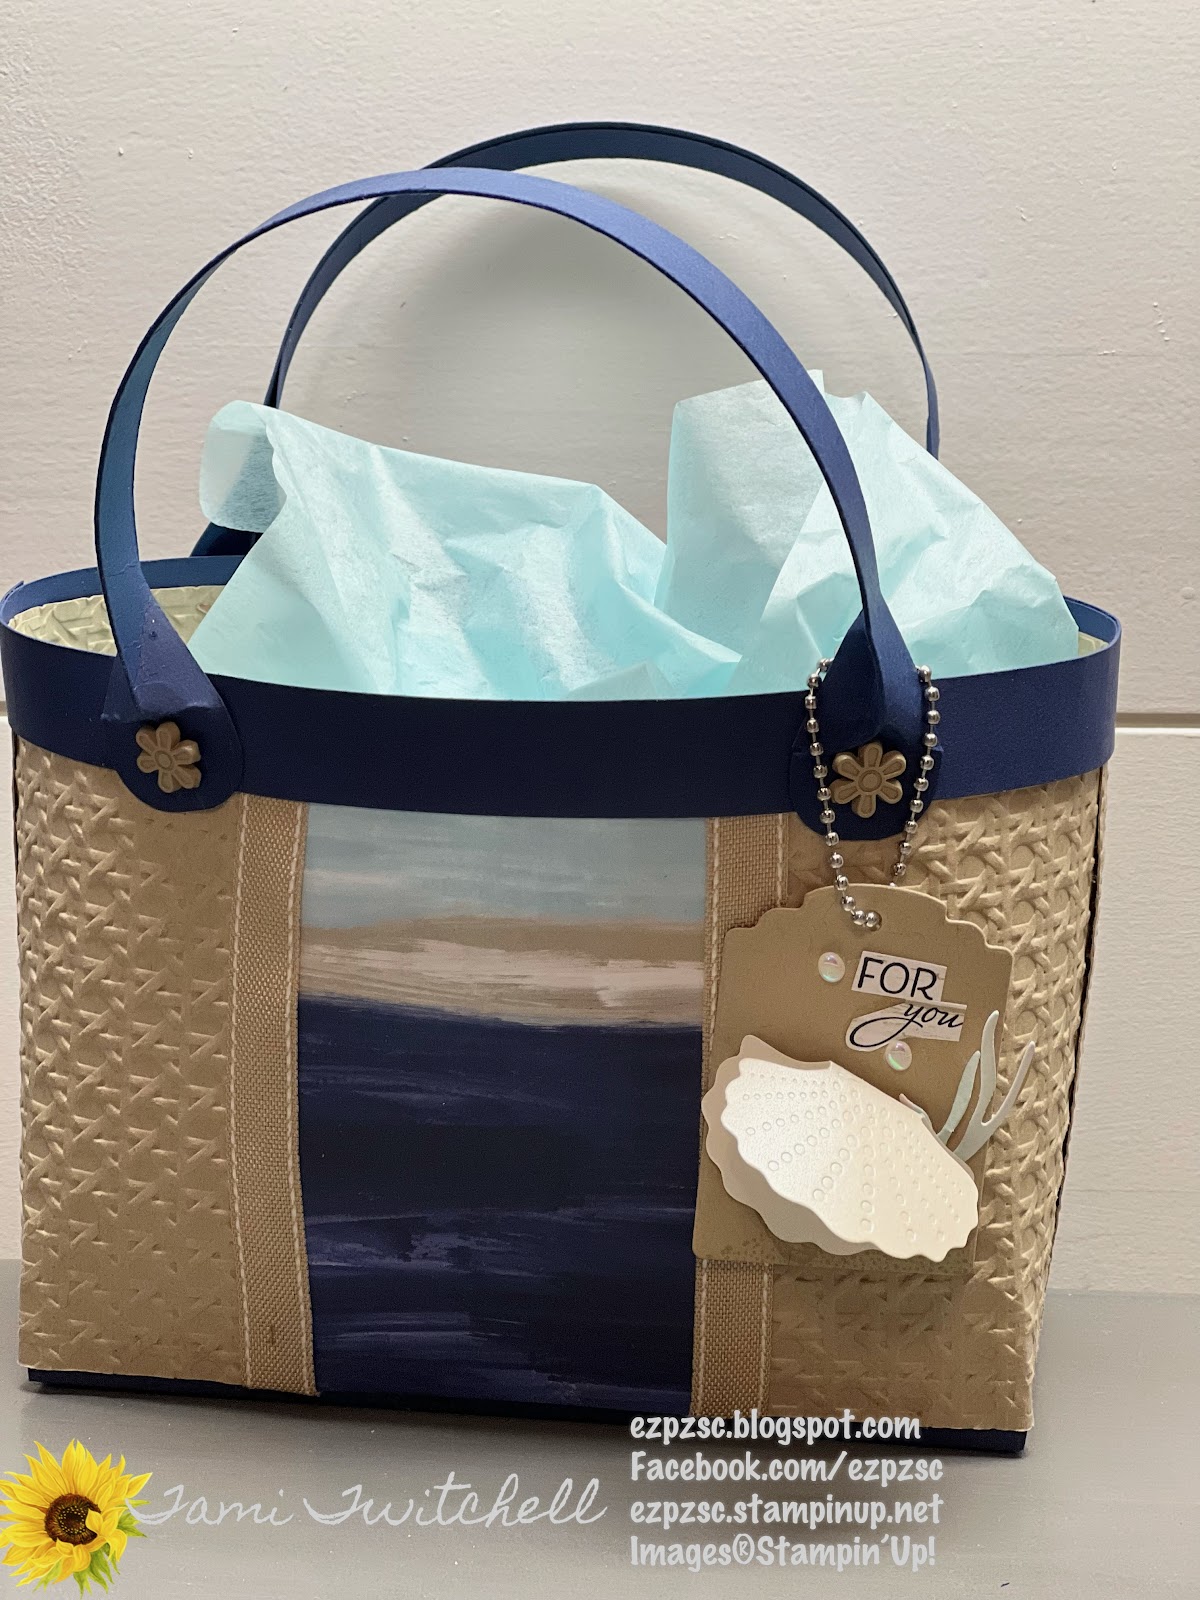
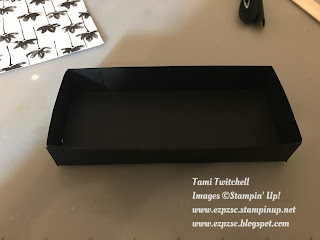
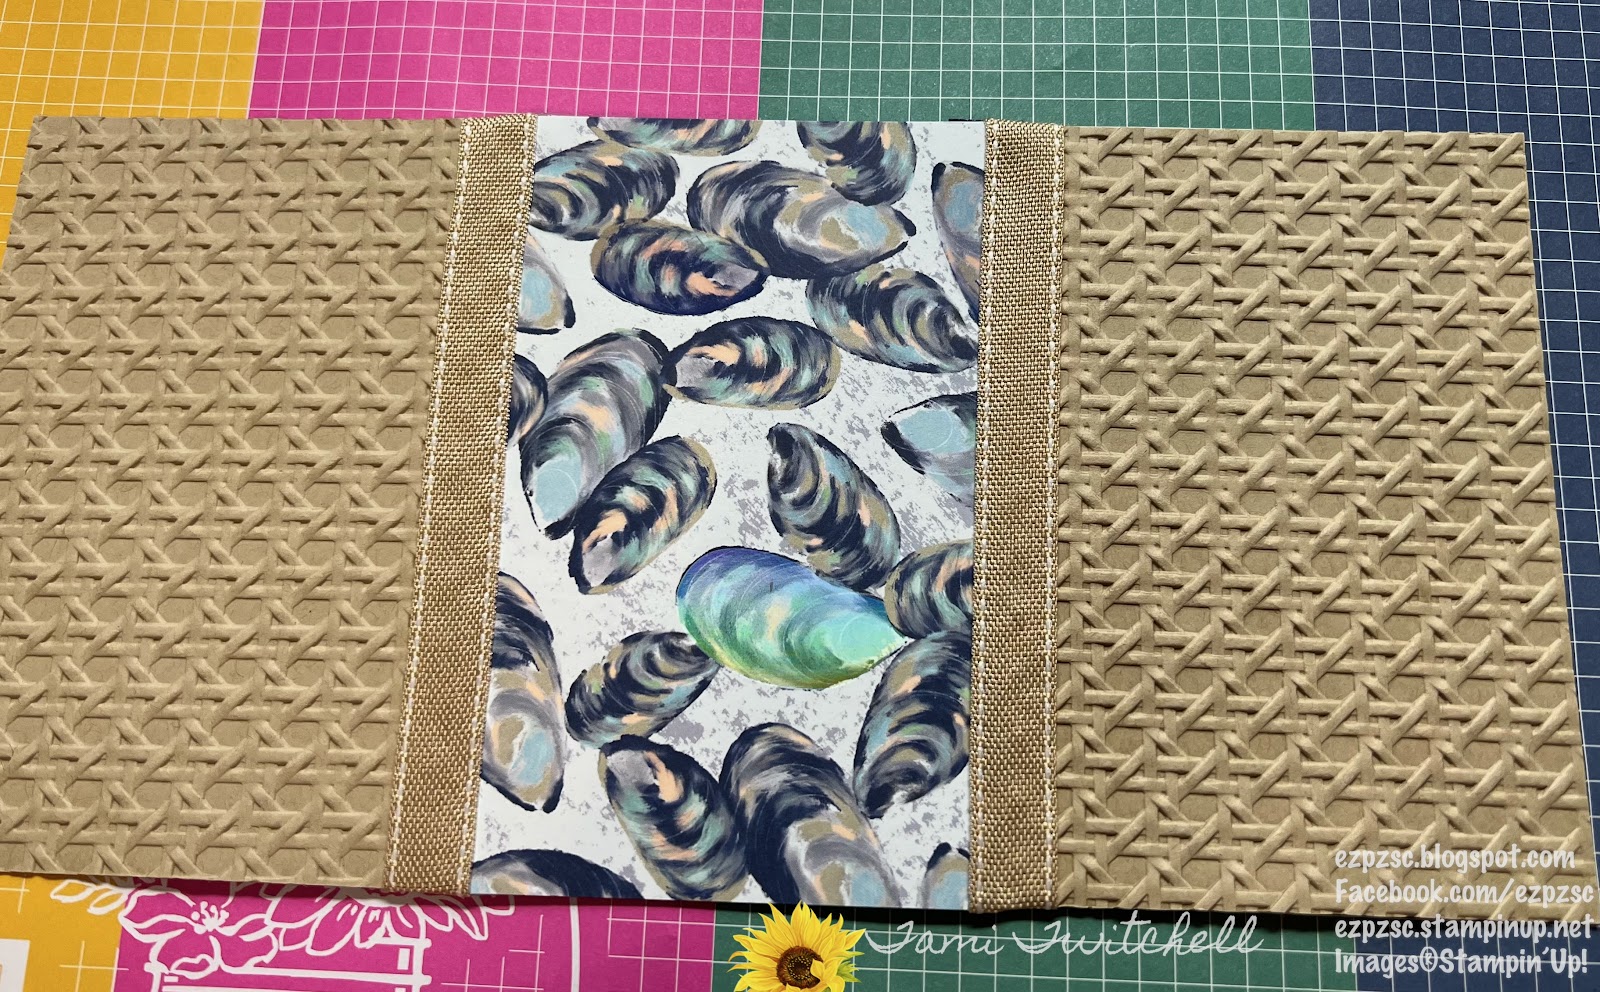
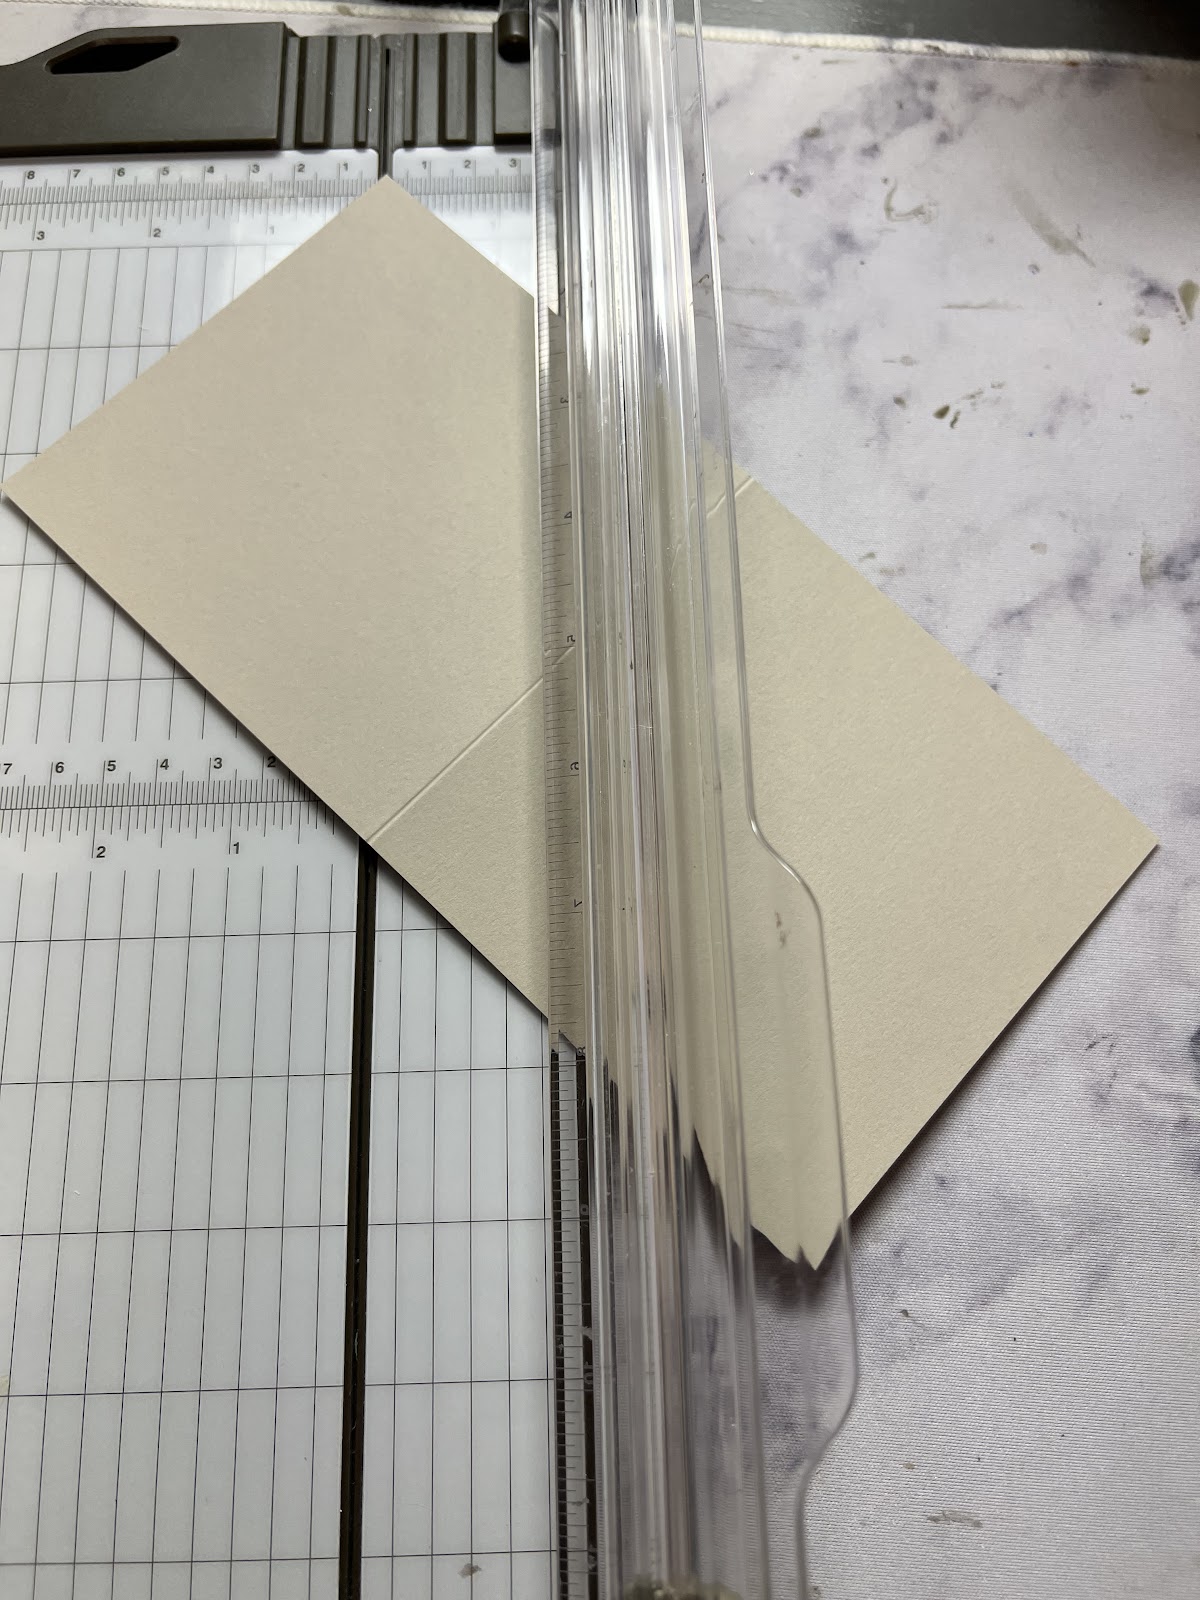
October ZZ Designs Class

This is a monthly in person class which will be held the last Thursday of every month except when falling on a holiday. It is also available as a kit to go. This class features 5 projects, a combination of cards and 3 -D items. There are two available sessions:

Thursday October 26

  1: 

10 am to noon   2: 6:30pm - 8:30pm

This class is free with a purchase of 25$ or more in my Stampin’Up! Store or 15$.  

This class may also be mailed out as a kit to go with unstamped images for 20$ which includes shipping.


Future class dates are:

November 30th which will be all Christmas projects.

December 28th: Birthday cards and tags projects.

You can RSVP for any of my class sessions by clicking on the class on my calendar. Or email me.


https://ezpzsc.stampinup.net/#pwp_published_events_widget_section


Stampin' Up!® is celebrating its 35th Anniversary in style! If you are a hobbyist, who would LOVE to save on all your products, there are a couple of ways you can enjoy the savings!

  • Option 1: 35% OFF the Starter Kit

Choose $125 worth of products for only $64.35!

FREE Paper Pumpkin

FREE Shipping

  • Option 2: 35% MORE products in the Starter Kit

Choose $168.75 worth of products for only $99

FREE Paper Pumpkin

FREE Shipping


You also get FREE REGISTRATION to Stampin' Up's Virtual OnStage (convention) on Nov. 11th! This is a $77 value! 

  • This will be on Zoom

  • You don't have to watch it LIVE, you can go back and see the recordings

  • You will see demonstrations using the new products in the January Mini Catalog

  • You can pre-order products earlier than customers

This amazing deal runs Oct. 3rd-31st!

Join my team!


https://www.stampinup.com/join?dbwsdemoid=2183134


Wednesday, September 13, 2023

September 2023 Update

September Update


The new September-December mini catalog is live! There are a lot of fun and fabulous new products from Stampin’Up!


Online Exclusives are all about the future of shopping and selling. And a great opportunity for new experiences! You won’t find these products in any catalog. Be sure to check out the newly added exclusives when you shop my Stampin’Up! Store! 

Store Link:

https://www.stampinup.com/?fbclid=IwAR0tvjEM5yYGgOHb84n_Epy_uOoFxB6yLwNWTiqOQp7NKgK4CDZgRhN0SKA


Introducing my  ZZ Designs Class!

This is a monthly in person class which will be held the last Thursday of every month except when falling on a holiday. This class features 5 projects, a combination of cards and 3 -D items. There are two available sessions:

  1: 10 am to noon   2: 6:30pm - 8:30pm

This month’s class features the Trick and Treats Bundle (162226)

on Thursday September 28th.

This class is free with a purchase of 25$ or more in my Stampin’Up! Store or 15$.  

This class may also be mailed out as a kit to go with unstamped images for 20$ which includes shipping.


Free Tutorial 


Gilded Nativity Card


Supplies:

Stamps: NIGHT DIVINE BUNDLE 161997

Ink: Versamark

Paper: Early Espresso Cardstock, Distressed Gold 159237, and BRUSHED GOLD CARDS & ENVELOPES  162177 

Accessories: gold embossing powder 155555


Instructions:

  1. Fold card on the score line.

  2. Rub embossing buddy over top right corner.

  3. Tap the sentiment stamp with Versamark ink and press and hold gently  in the upper right corner of the card.

  4. Hold the card over the scored 6x6 grid paper and pour gold embossing powder over the inked stamped sentiment.

  5. Tap card to take off excess powder.

  6. Return the poured out powder back into the container.

  7. Turn on the heat gun and hold over the sentiment until powder melts and is shiny.

  8. Adhere Early Espresso brown die cut nativity piece to card front with glue.

  9. Add mini dimensionals back of the gold nativity piece and place them on card front.

  10. Place stars above nativity scene.


Thursday, August 31, 2023

September Catalog Open House


You’re invited to my Fall & Christmas Open House.


Date: Thursday September 7th


Times:   Session 1 , 10am to Noon

              Session 2, 6:30 pm to 9pm


Free Christmas Card and Halloween Treat Holder make and takes.


Door Prize Drawings

Extra Chances to enter door prize drawings:

  RSVP

  Bring a Friend 

   Sign up for my Newsletter 

  Sign up for one of my classes

  Place an order 

  Host a workshop or class


Free Class for every 25$ or more that you spend.

Visit my website for up coming classes:

ezpzsc.stampinup.net


RSVP by September 5th

Here’s a sneak peek of the card we’ll be making!


Monday, July 31, 2023

Level Complete. Birthday Card

 I just love the new Level Complete stamp set from Stampin’Up!


 While making this card, the completed black controller disappeared. I decided to clean up my workspace and it was still gone. So I asked my son Matthew if he knew where it was. He wanted to know why? I told him it was for his Birthday card that I was making. Two minutes later, it magically appeared in his hands!😂🤣😂🤣😂 I guess he will love his new Birthday card! Maybe he will actually even keep it! I’m 


Tuesday, May 2, 2023

Seaside Bay Card Tote Bag

I created this fun Seaside Bay Beach card tote bag as part of my By the Bay Suite presentation. It was fun to create and by embossing the crumb cake sides with the cane Embossing folder it softens the paper to feel more real.

Features the SEASIDE BAY BUNDLE 160445

Cutting:

Crumb Cake: 4 panels 3 ¾””x 4 ¾” embossed with cane folder mist paper  lightly before embossing.

Seaside Bay Dsp: 2 panels 3 ”x 4 ¾”

Night of Navy: 8½””x 4 ½” score 1” all 4 sides, 2 strips ¾”x 10”(trim), ½” x 4 ¾”(4) and 1”x 11” score at ½” 1” in from top and bottom.

Ribbon  (4) 5 ¾”

Burnish score lines and adhere together. Corner round edges or use a fun border shape. Burnish adhered sides.


Adhere ribbon trim to fronts before adhering to base.


Instructions 

  1.  Cut Night of Navy 8½””x 4 ½” score 1” all 4 sides

  2. Cut Crumb Cake 4 panels 3 ¾””x 4 ¾” embossed with cane folder mist paper  lightly before embossing.

  3. Cut By the Bay dsp Dsp: 2 panels 3 ”x 4 ¾”

  4. Cut Night of Navy 2 strips ¾”x 10”(trim), ½” x 4 ¾”(4) and 1”x 11” score at ½” , 1” in from top and bottom. 

  5. Use bone folder and burnish the 4 score handles. Adhere together leaving 1 inch on the top and bottom open. Use bone folder and curl handles.

  6. Ribbon  (4) 5 ¾  length

  7. Adhere 2 embossed panels to the dsp panel, with the panel in the middle. Repeat.

  8. Adhere ribbon on sides of dsp.

  9. Flip and adhere Night of Navy to back side to re-enforce Crumb cake to dsp panel sides.

  10. Make base of tote by snipping 1 inch on the 2 short sides. Wedge the small flaps if desired. Adhere flaps to sides.

  11. Place adhered  panels over long side making sure dsp is in the middle and adhere to base. Flip 180 and repeat.  Adhere sides together. 

  12. Adhere top trim to top of panels.

  13. Adhere handles to top sides either with a brad or glue and  dimensionals.

  14. Cut tag with designer tags dies out of Crumb Cake.

  15. Cut embossed clambshell in pearlescent dsp. Cut grass out of dsp.

  16. Stamp sentiment in night of navy and die cut. Adhere grass and shell to tag. Place pearl inside. Adhere sentiment.

  17. Attach tag to bad with beaded chain or bakers twine.


Tuesday, April 25, 2023

By the Bay z fold card

 I created this fun z-fold card for my WeStar presentation. I just love how beautiful it turned out!


Here are the products and cutting measurements! 

Stamps: SEASIDE BAY • 160436

Ink: Night of Navy 147110, Sahara Sand 147117 and Balmy Blue 147105

Paper: Sahara Sand 121043, By the Bay dsp 160434, Basic White 159276 and Balmy Blue 146982

Accessories: SEASHELLS 3D • 154309, SEASIDE BAY DIES  160444, and   FLAT ADHESIVE-BACKED PEARLS  160449


Cutting and Measurements 

Sahara Sand (base): 4 1/4” x 11”, score long side at 2 3/4” and 5 1/2”

Sahara Sand (z-fold layer): 3 1/2” x 9 3/4”, score long side at 2 3/4” and 5 1/2”

Sahara Sand 1” x 3 ⅛” cut with sand border die

Balmy Blue 2 ½”x 4” (2) , 4 “x 5 ¼” Embossed with seashells embossing folder

Balmy Blue 3 “x 3 ⅝”

Dsp: shell 4 ⅛”x 3 ⅜”,  pearilized brush strokes 3 ⅜”x 2 ½”, and 3 ⅛”x  2 ⅜”

Basic White: 3 ⅜”x 2 ½”

Die cuts:  1 large grass in Sahara Sand, 1 small in dsp scrap,stamp and cut small nautilus shell in balmy blue ink

Enjoy and have a wonderful day!

Friday, April 7, 2023

Twisted Easel Seaside Bay

 I had a fun time last weekend at our WeStars retreat!  I learned of this fun fold from Kim Quade and knew it would be perfect for my shoebox swap at the retreat.

Seaside Bay Twisted Easel 


Supplies: 

Stamps: Seaside Bay 160436 and Friends Are Like Seashells 158203

Ink: Night of Navy 147110, Petal Pink 147108, Sahara Sand 147117, and Soft Suede 147115

Paper: Sahara Sand 121043, Night of Navy 100867, Basic White 159276, Pearlescent 154291, and By the Bay 160434

Accessories: Seaside Bay dies 160444, Flat adhesive pearls 160449, Night of Navy bordered ribbon 160581, WINK OF STELLA® CLEAR GLITTER BRUSH • 141897,Stampin’ Write markers in Pool Party and Sahara Sand (subtles 147156 and neutrals 147158).


Cutting: 

Sahara Sand Cardstock 8 ½”x 4 ¼”, 1”x 3 ¾” 

Night of Navy Cardstock 3 ¾”x 3 ¾”

Seaside Bay dsp 4”x4” cut in half diagonally 

Basic White 3 ½ x 3 ½” , 3 ¾”x 3 ¾”

Night of Navy ribbon 4”


Instructions:

  1. Cut and score Sahara Sand Cardstock 8 ½”x 4 ¼”, score long side at 4 ¼”

  2. Rotate  Sahara Sand 90 degrees to the right. score diagonally from the top left corner to the bottom right corner.

  3.  On the left side, bring the bottom left tip to the middle top, folding on the score line.

  4. Stamp Sand and seashells in Sahara Sand on inside lower right corner .

  5. Stamp crab in Petal Pink on Basic white scrap and cut out with die. Adhere to lower right above the sand and seashells with dimensionals.

  6. Stamp the sand and seashells stamp in Sahara Sands on the lower right on the Basic White 3 ¾” x 3 ¾”. Adhere to back of card.

  7. Adhere dsp cut half on lower right front of card.

  8. Using Stampin cut and emboss machine, cut out large scalloped clam shell in Pearlescent paper, cut grass in Sahara Sand and seaside bay dsp scraps, cut the Sahara Sand 1”x 3 ¾” with the sandy edge border die.

  9. Stamp sand and seashells on Sahara Sand strip. Adhere to bottom of Basic White 3 ½”x 3 ½” card stock.  

  10. Stamp bird trio in Soft Suede just above Sahara Sand strip. Stamp sand in Sahara Sand ink  around birds. 

  11. Stamp sentiment in Night of Navy on upper right.

  12.  Adhere grass to lower right side of card front together.

  13. Adhere clamshell over grass with dimensionals to card front.

  14. Place a flat adhesive pearl on middle of bottom clamshell.

  15. Tie knot in center of ribbon. Place 3 glue dots on end and back of knot. Tuck right side under clamshell and wrap around to back of Basic white card stock.

  16. Adhere the 3 ½” x 3 ½” Basic White to the 3 ¾”x 3 ¾” Night of Navy Cardstock.

  17. Place adhesive on back diagonal ½ of Night of Navy square.

  18. Place 2 flat adhesive pearls to upper left of card front.

  19. To create twisted easel, lift bottom right of card  and tuck behind the inside crab.     


    Enjoy! This s such a fun card to make!